The CS L@b

This lecture serves as an introduction to C++ and overall programming. It focuses on terminology, structure, and step by step instructions for C++ coding. The only prerequisites for this lecture are to have a working computer and a fundamental understanding of how to use it. The first section goes over the programming environment, explaining the applications and tools needed to write, compile, and run code. The next section will analyze basic code to understand its structure, keywords, and symbols. The final section goes into detail about the whole process, from preparing the proper tools to executing your first program.
A programming environment is a set of tools that aids a developer in creating a operational program. The tools mentioned here are essential and will be explained in detail. They include a text editor, a terminal, compiler, and a debugger.
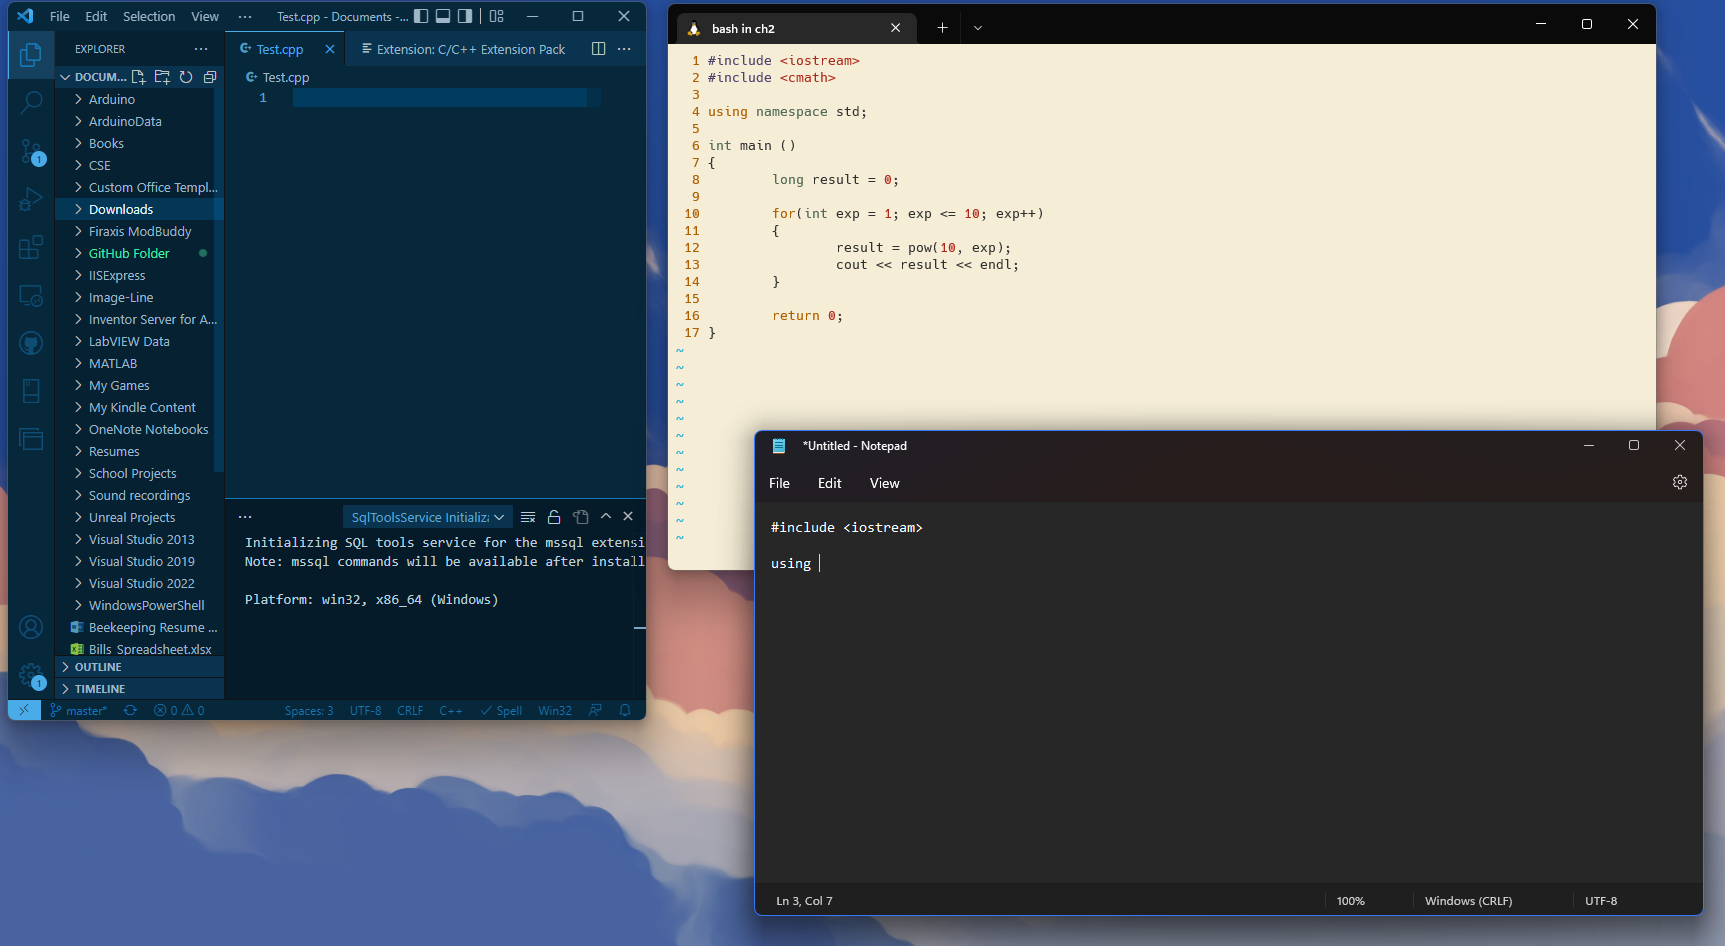 Referring to the first tool, a text editor is an application that helps users write and edit text. Luckily, all operating systems (OS) come with one. For example, Windows OS has Notepad, MacOS has TextEdit, ChromeOS has Nano (more on that later), and the popular Ubuntu - one of the many distributors of Linux OS - has Vim.
For chromebook users, it is possible to install one via the Google Play Store, but it's recommended to enable the Linux environment and use their text editor. For chromebooks created during and after 2019, you can view the installation guide via the following website. Programmers are not limited to these four text editors. There are also open-source text editors that can come with extra features, such as Microsoft's Visual Studio Code.
For learning purposes and uniformity, this lecture and following lectures will use Vim. The reason for using Vim is because it's compatible with all operating systems, it's still relevant for today, and it's open-source software. Also, Vim is a program that comes integrated with every OS's terminal. The terminal is an important part of the programming environment that will be examined next.
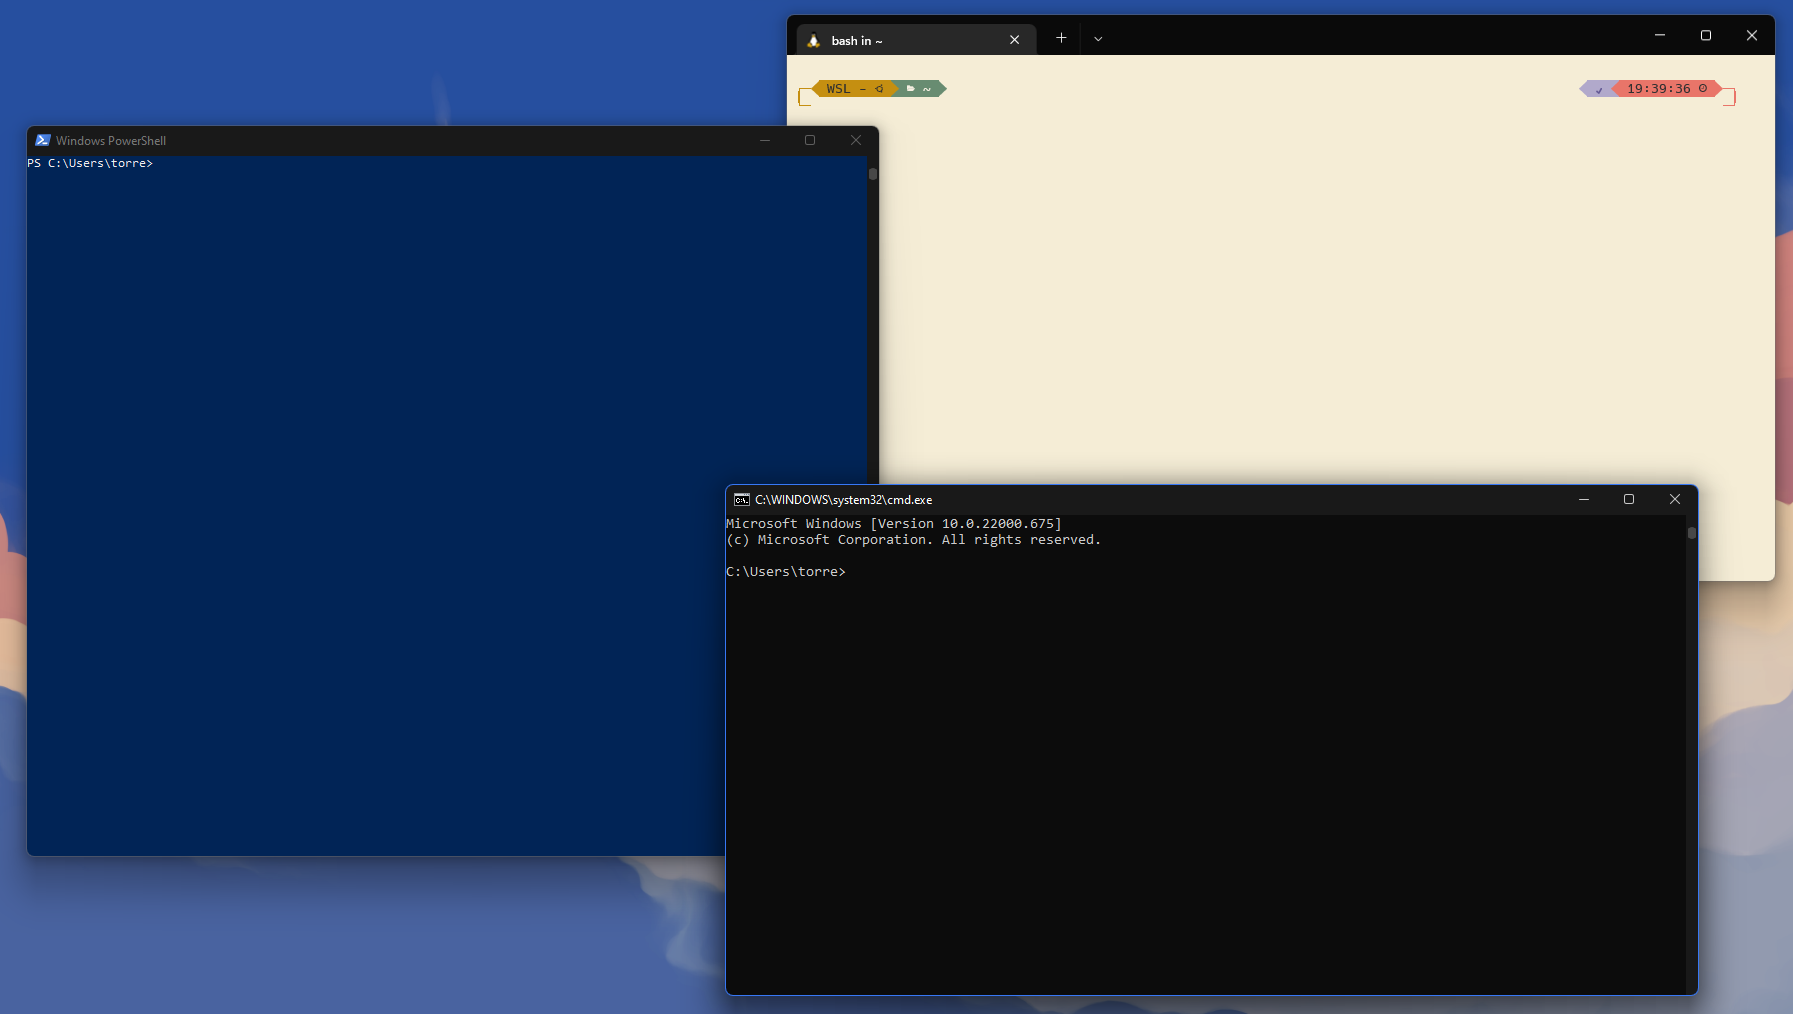 The terminal is a text interface. It looks like a simple window with a couple of characters and a blinking cursor. All operating systems have a terminal. Unfortunately, the terminal by itself isn't useful, which is why there are shells. A shell is a program - also known as a command-line interpreter - that gives a user access to the operating system services by providing a list of commands the user can input in the terminal. There are many shells that can be used with the terminal. Some popular ones include Bash, PowerShell, and Command Prompt (cmd). Caution, the shell isn't a visible application, it works in the background only giving hints of its existence through the terminal and its commands. Together, they allow users to access command-line applications (like Vim), manipulate files, install other tools, and other services a programmer needs.
For learning purposes, this lecture and future lectures will use the terminal along with Bash. Both Linux OS and MacOS come with Bash shells in the terminal. Windows users need to take an extra step by installing Windows Subsystem for Linux (WSL) using the guide on the Microsoft website. WSL creates a Linux environment on a Windows system, allowing user to execute Bash commands on the terminal and more. For those who don't want to install WSL, it is possible to use cmd and Notepad, but additional research is required. ChromeOS users have the terminal and Bash once they enable the Linux Environment. With the terminal and Bash, it is possible to write and store code. Though, to have the program run, the terminal needs to install a compiler.
A compiler is software that translates a high-level language (like C++) into low a level language (such as assembly) for the system to understand. One of the most popular compilers is the GNU C++ Compiler - also known as g++ - and is what this lecture will use to help translate code. It is easy to install one within the terminal, and later sections will explain the installation process. It's great to finally have an executable file, but what if something goes wrong? Having a debugger can help reduce time in finding problems.
Debuggers assist the programmer in finding problems within the code. For learning puposes we will use gdb which is the GNU Debugger that can be installed within the terminal as well. Later sections will show commands and how to install it. To some people, all these steps can be a hassle, fortunately there are applications that simplify this process, allowing them to code right away.
 Integrated development environments are applications that come with the same equipment that editors and terminals have, and then some. Warning, some of them state that they are free to use under certain conditions, like Microsoft's Visual Studio - not to get confused with Microsoft's Visual Studio Code which is just the editor. Basically, the software can only be for individual use, and programmers need to buy the business versions if they plan to work with groups. While text editors, terminals, and the tools used in these lectures are open source (FREE!). Companies like free, people like free, so it's best to follow the practices. Before writing any code, it is essential to understand what is written.
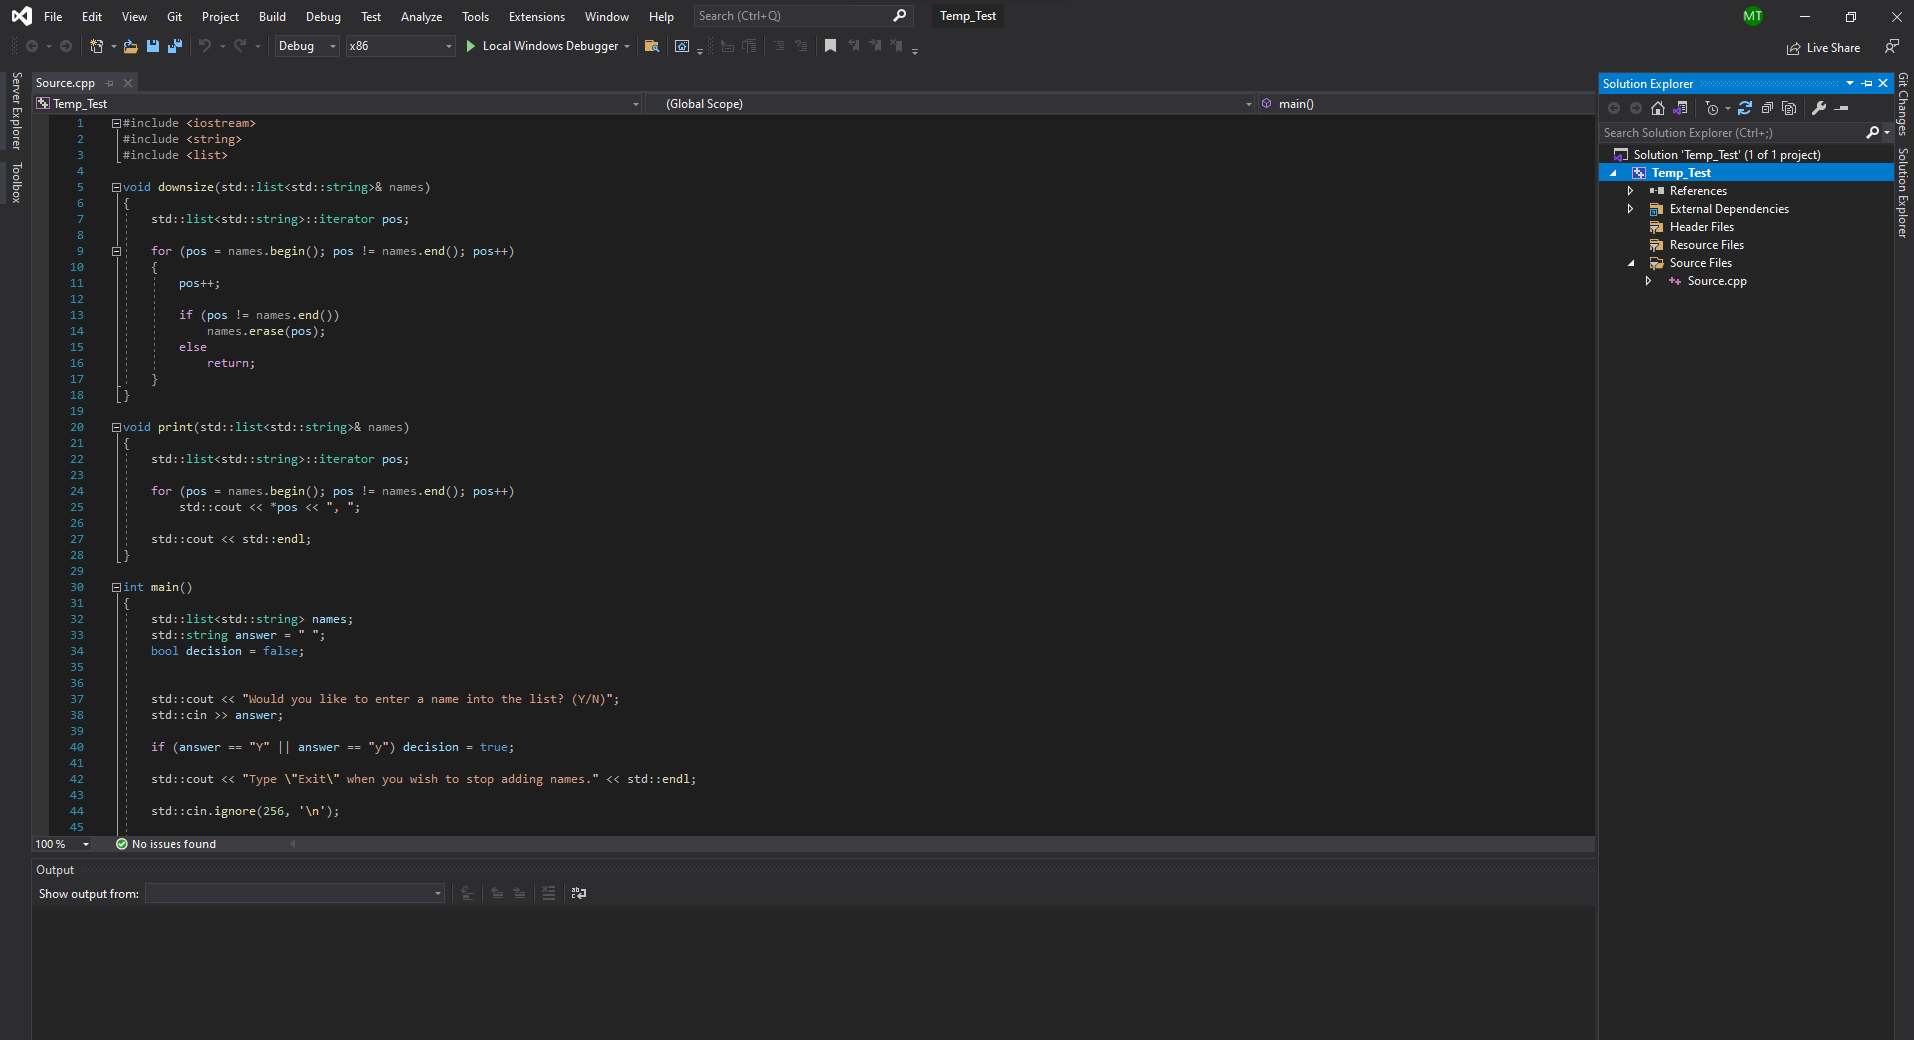
Here is a simple HelloWorld program which contains a couple lines of code. It provides the fundamental structure of how every C++ program is built. C++ is case-sensitive, for example, the keyword return is different from the word Return. It also has a free-form layout, so space and line breaks are ignored during compilation. Caution, compiler doesn't ignore the content between line breaks and spaces. For example, "s t d" is interpreted as the letters s, t, and d while "std" is interpreted as the namespace called std (more on that later). Still, a programmer can write each symbol, literal, identifier, and more on their own line, and it will still compile like the code below. To clarify, literals are the most fundamental values, like words or numbers. Identifiers are names that describe variables, functions, namespaces, objects, classes, and more; all of which will be discussed throughout the course. From here on, the lectures will use the Standard Library's files to create more complex code. Later sections will show how to install the Standard Library. For now, the following will explain each line in detail.
 1 //HelloWorld.cpp
 2 #include <iostream>
 3
 4 using namespace std;
 5
 6 int main()
 7 {
 8   cout << "Hello World!\n";
 9   return 0;
10 }
The first line is a comment describing the file's name. Comments are one or more lines of text ignored by the compiler. They are used for documentation purposes which help users understand the program. There are two types of comments a programmer can use: single-line comments and multi-line comments.
// Single-line comment

/*
Multi-line comment
*/
Single-line comments are denoted by the two forward slashes //. Anything after // that's on the same line is ignored by the compiler. The second type is the multi-line comment, and is denoted by /*...*/. Anything between the symbols /*...*/ are ignored by the compiler and can span multiple lines.
On line 1, the #include is a type of preprocessing directive which tells the compiler to look at and incorporate the contents of the iostream header file before compiling HelloWorld.cpp.
Preprocessing directives, in a general sense, provide rules for the compiler to follow before compiling the current source file. Later lectures will cover more preprocessing directives. Header files provide a list of identifiers for programmers to implement in their code. Future lectures will discuss string manipulation in more detail. Note, header files can either be user defined (within double quotations "") or part of a library (which are encapsulated in the <...> symbols). In this section we will identify the lines that use such tools from the iostream header file.
More specifically, the header file iostream is a type of file from the standard library. This file contains a list of input and output identifiers and operators that we can use. For now, keep in mind that iostream is just one of the many files existing in the standard library. Note, to use multiple header files in C++, each one needs a #include directives which can span multiple lines in the beginning of a program.
The statement on line 4 is a using-directive which allows the source file to use identifiers from the namespace called std. The namespace called std can be found within any of the header files in the standard library. An example can be seen by looking at the synopsis of iostream on the cppreference website. In the synopsis there is a declaration of the namespace with the content between the {...}. The main purpose for a namespace is to avoid naming conflicts in the case where multiple identifiers have the same name, but different values. For studying purposes, this course will only use std throughout. Besides namespaces, a statement is similar to a sentence, where the semicolon is like a period defining the end of a sentence.
The 6th line creates function called main that should return an integer. Every program has a main function and can have additional functions. Each function carries out a process, which consist of code. The parentheses are where we can store parameters - additional information for the function to use - though since this is a simple program, it is left empty. Functions will be explained in future lectures. Finally, the identifier int is called a data type. This specific data type says that the main function should return an integer.
The curly brackets and the content between lines 7 and 10 is considered a block statement and it defines the scope of the content within the main function. One of the main purposes of a scope is that its a preventative measure. It limits the readability of its content, only giving access when permited by the programmer. Anything outside the function's scope cannot use its content directly, and same applies to the function as it can't access anything outside its scope directly. However, nested scopes can access outer scopes. More will be explained as lectures show examples.
Line 8 sends the content within "" - known as a string - to the terminal to be displayed, using the command cout <<. More specically, a string is a combination of characters like symbols, letters, and escape sequences. Escape sequences are denoted by the backslash (\), and they tell the compiler to do certain tasks. For example, the new line escape sequence \n, like the name suggests, tells the compiler to create a new line and start from there. Keep in mind that even though escape sequences are two character, the compiler sees it as one. More escape sequences will be touched upon in later lectures.
To transfer this data to be visually displayed, the programmer uses the insertion operator <<. The insertion operator inserts data in the order it was recieved to an output stream object to handle the rest. The operator is referenced in <iostream>. Keep in mind that it is an overloaded term, which will be discussed in the overloading lecture.
In this case, the output stream object that recieves the data is called cout. This object controls output to a stream buffer. A stream buffer is another object, except this object performs all readding and writing to the terminal. Both the stream buffer and cout are referenced in the iostream file.
Remember how the main function expects an integer to be returned, well this is it. The compiler says to return 0. The digit 0 is considered a flag, it signals the compiler that there were no errors in the program, and that it can be terminated. However, if there are errors, the terminal will provide a long list of what seems like random words at first, but it is actually important information to fix the code.
There are two types of errors in programming, syntax errors and logical errors. A syntax error is a compilation error that detects missing symbols, values, and keywords from the program. An example would be a programmer forgetting to insert a semicolon at the end of a statement, or forgetting an operator. This is usually displayed in the terminal, stating the file and the location of the error. A logical error happens during the execution of the program and is only caught by the user. It can be anything from the code misbehaving and giving wrong values to not give values at all. Compilers can't find these errors, but a debugger can help find where the issue is at.
Before using the terminal this section will go over fundamental commands. Afterwards, there will be step-by-step instructions for updating and installing tools. Finally, the lecture will end with a simple tutorial on how to run your first program. This section will try to anticipate any issues, but for further assistance please search online.
Commands for this instance will allow the user to traverse and manipulate the directory and files. Consider a directory as tree-like collection of files, where each directory branches to subdirectories (files within files), and where the root of the tree is usually the storage location.
$ pwd
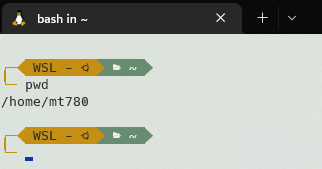
Provides a path to the currently accessed directory. A path consist of a root directory, and all subsequent directories separated by a forward slash (/). Note, in Windows OS each step of the path is separated by a backslash (\). Remember this when referring to Linux or Windows, since getting the two mixed up can cause errors.
$ ls
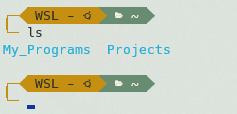
Provides a preview of the subdirectories in the current directory.
$ cd directory_name
$ cd ..
$ cd
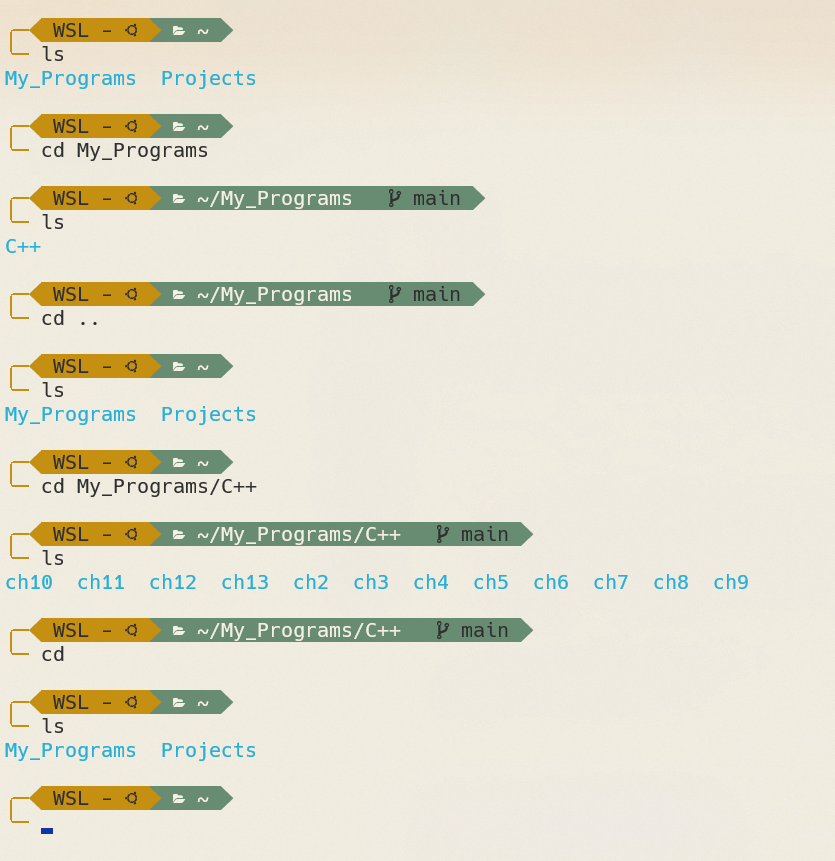
Helps navigate the directory and can require additional input. For instance, to step into a subdirectory, type and enter the subdirectory's name after the cd command. To step back one directory, type two periods after the cd command. To step all the way back to the origin of the directory, enter cd by itself. Rather than using cd for every step, if the path of the desired directory is known, type the path after the command cd and then enter. Looking at the example, notice the path depicted in the green section, or notice the subdirectories when entering the command ls.
$ mkdir directory_name
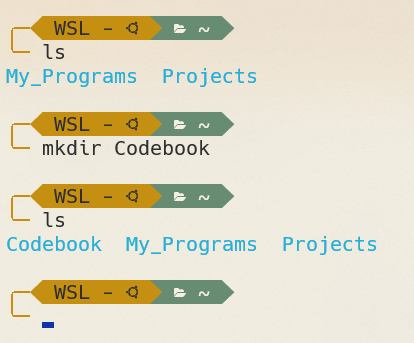
Create a subdirectory in the current directory.
$ vim file_name.cpp
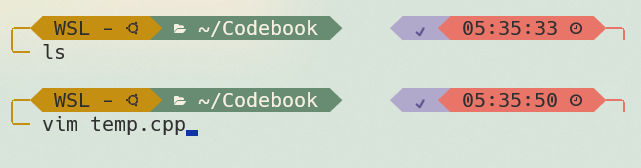
 Creates and accesses the user defined C++ file. Note, these files have a (.cpp) extension which can be interpreted as “C Plus Plus”. Vim has modes and commands to edit, manipulate, save, and more. Typing right away will cause the first few characters from the keyboard to not register. To start writing/editing text, press the character (i) on the keyboard. This is known as insert mode and is shown at the bottom of the window. To quit any of the several modes, press the escape key. Deleting characters while not in insert mode will cause the cursor to move to the left instead of deleting the letters. To fix this, hit the (i) key again.
 Vim has unique commands that can be entered in the command line, located at the bottom of the window. Before typing a command, exit out of any mode. Each command starts with a colon (:).
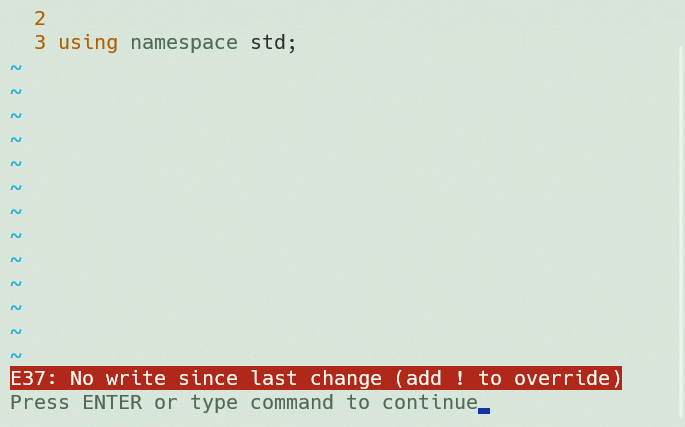
:help
This command provides a list of topic the user can traverse for more information. Fortunately, this lecture will go over a few of the basic commands.
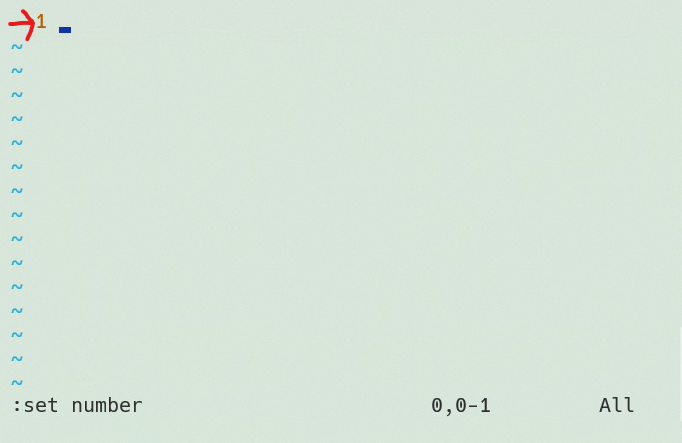
:set number
Provides line number to new or preexisting code. This makes it easier to distinguish where parts of the code are.
:w
Saves the current state of the file.
:q
Quits Vim and goes back to the terminal without saving.
:q!
Note, if a file has been edited and the quit command is executed before saving, Vim will warn the user about unsaved changes. To bypass this, enter the force quit command. Warning, anything that wasn't saved will be lost.
:wq
Instead of potentially loosing data, the better option is to use the save and quit command. This will save the file then exit out of Vim.
 Remember, Vim is an open-source editor. It comes with some distributors of Linux like Ubuntu, but if it's not installed, the terminal will complain and suggest installing it using whatever command it provides.
$ gdb file_name
Accesses the debugger for a file that was compiled with debugging in mind. Just like Vim, the debugger has its own set of commands.
(gdb) run para_1 ... para_n
Runs program normally and can use additional arguments if needed.
(gdb) b param_1
Sets a breakpoint by provideing: a function name, a line number, or a class member.
(gdb) info b
List all current breakpoints that are activated.
(gdb) delete param_1 ... param_n
Deletes the specified breakpoints
(gdb) next
Executes the program one statement at a time, starting at the breakpoint. Useful to figure out on the surface level.
(gdb) step
If one statement references a process elsewhere, use this command to step into that process. Useful when program is trying to access another function or class elsewhere.
(gdb) print var_1 ... var_n
prints the value that is specified. This value can be any variable that hold data.
(gdb) where
Specifies information about the current location during debugging.
(gdb) frame
Shows values of variables local to the calling function.
(gdb) q
The command exits the debugger.
These are just a few of the many commands the debugger uses, but they are essential.
$ rmdir directory_name
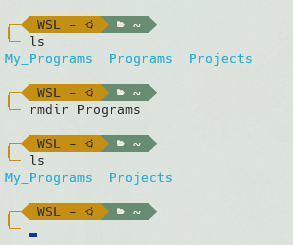
Removes a subdirectory in the current directory. Warning, only removes empty directories.
$ rm file_name
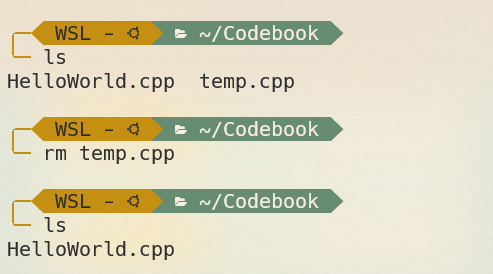
Removes files that are in the current directory.
$ sudo ...
This command gives administrative access over operations. Any commands with sudo tagged onto it will initially ask for a password before doing its task, so make sure to remember the password. Knowing sudo, will allow users to update and install packages.
$ tmux
Starts an environment where multiple terminals can run. To enter a tmux command first enter CTRL+b. Afterwards it will expect an order. For example, to split the terminal horizontally, enter SHIFT+5. To split the terminal vertically, enter SHIFT+'.To traverse any of the windows simply press any of the arrow keys. Keep in mind to enter CTRL+b every time before entering a tmux command.
To summarize, the following is a list of the commands that were reviewed during this lecture.
| Commands | Definitions |
|---|---|
| pwd | Provides a path to the currently accessed directory |
| ls | Provides a preview of the subdirectories in the current directory |
| cd | Helps navigate the directory and can require additional input |
| mkdir | Create a subdirectory in the current directory |
| vim | Creates and accesses the user defined C++ file |
| gdb | Accesses the debugger for a file that was compiled with debugging in mind |
| rmdir | Removes a subdirectory in the current directory |
| rm | Removes files that are in the current directory |
| sudo | Gives administrative access over operations |
| tmux | Starts an environment where multiple terminals can run |
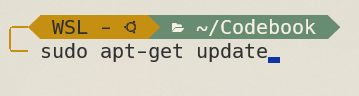
To avoid issues when installing the compiler, check for updates. To do this, there are a set of instructions to follow.
$ sudo apt-get update
$ sudo apt-get upgrade
$ sudo apt-get dist-upgrade
If using sudo for the first time when starting up the system, it will require a password. Note, for chromeOS and Windows, the password is the one created when enabling Linux. For MacOS and Linux users, the password is just the regular one that is used to log into the PC. Also, enter the character (y) if it is asks for permission to upgrade. If successful, everything should be up to date. The next step is installing the compiler.
There are two methods to download the package, but for this instance, use the build-essential route since it includes other key features like: libraries, debugger, and the compiler itself. To do this, type the following:
$ sudo apt install build-essential
Afterwards, check to see if it is installed by entering:
$ g++ --version

If you see something like the image above, then the compiler has been successfully installed. Note, for more information on how to use g++ flags, enter the following command.
$ g++ --help
This will provide the basics information for flags used in the following section. Before going on to coding, first check if the gdb program is installed by entering the next command.
$ gdb -help
If successful, it will give a list of instructions, otherwise install gdb program by entering the following.
$ sudo apt install gdb
Once everything is installed, the next step is to write code.
To begin: set up a user defined directory to store programs, in this case call it "Programs".
$ mkdir Programs
$ cd Programs
$ vim HelloWorld.cpp
:wq command to save and quit.g++ -c HelloWorld.cpp
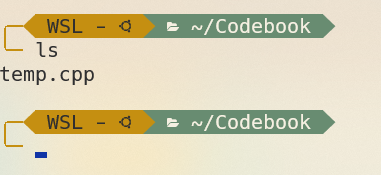
ls
$ g++ -o HelloWorld HelloWorld.cpp
$ ./HelloWorld
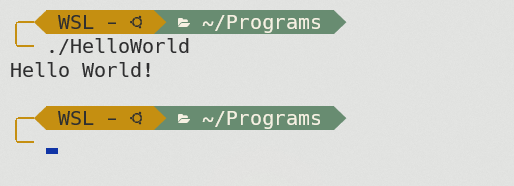
Once submitted, the output will be displayed on the next line in the terminal. If it runs and there are issues with the output, then it is considered a logical error. To fix this, we will use this opportunity to introduce the debugger.
The following is one of the many ways to aproach the issue.
tmux to create a session to split terminal.g++ -c HelloWorld.cpp
gdb a.out
Keep in mind, it is possible to avoid using the -c and -o flag, but in some scenarios it is required to have a user defined name for the executable file. For future lecture, examples will be compiled using the -g flag to make life easier. Congratulations, you are officially a programmer! If you wish to continue, please read the next section.